So apparantly I really SUCK at keeping up with blSUCK at cooking too. Haha. We haven't been doing much cooking. Eating go to meals (what I keep in the freezer and grilling) But this is a good one!
ogging. Buuuut in my defense....I really
ogging. Buuuut in my defense....I really
Chipotle Turkey Chili
Usually I'm not one for turkey, but this is delicious.
A little spicy and very filling.
It would also be tasty with chicken instead
The original recipe says it makes four servings...but I call bull. It was MAYBE 3 servings....but let's be honest here...TheHubby and I ate the whole pot for one dinner (Shameful...I know...)
TheHubby liked it so much, he requested it again. Being a WONDERFUL wife (Just in case he reads this, and doesn't know that already) I made it again. But, having learnt (learned?) the lesson, I made a double batch. And it was perfect for dinner one night, and leftovers for lunch the next day!
Let's get started!

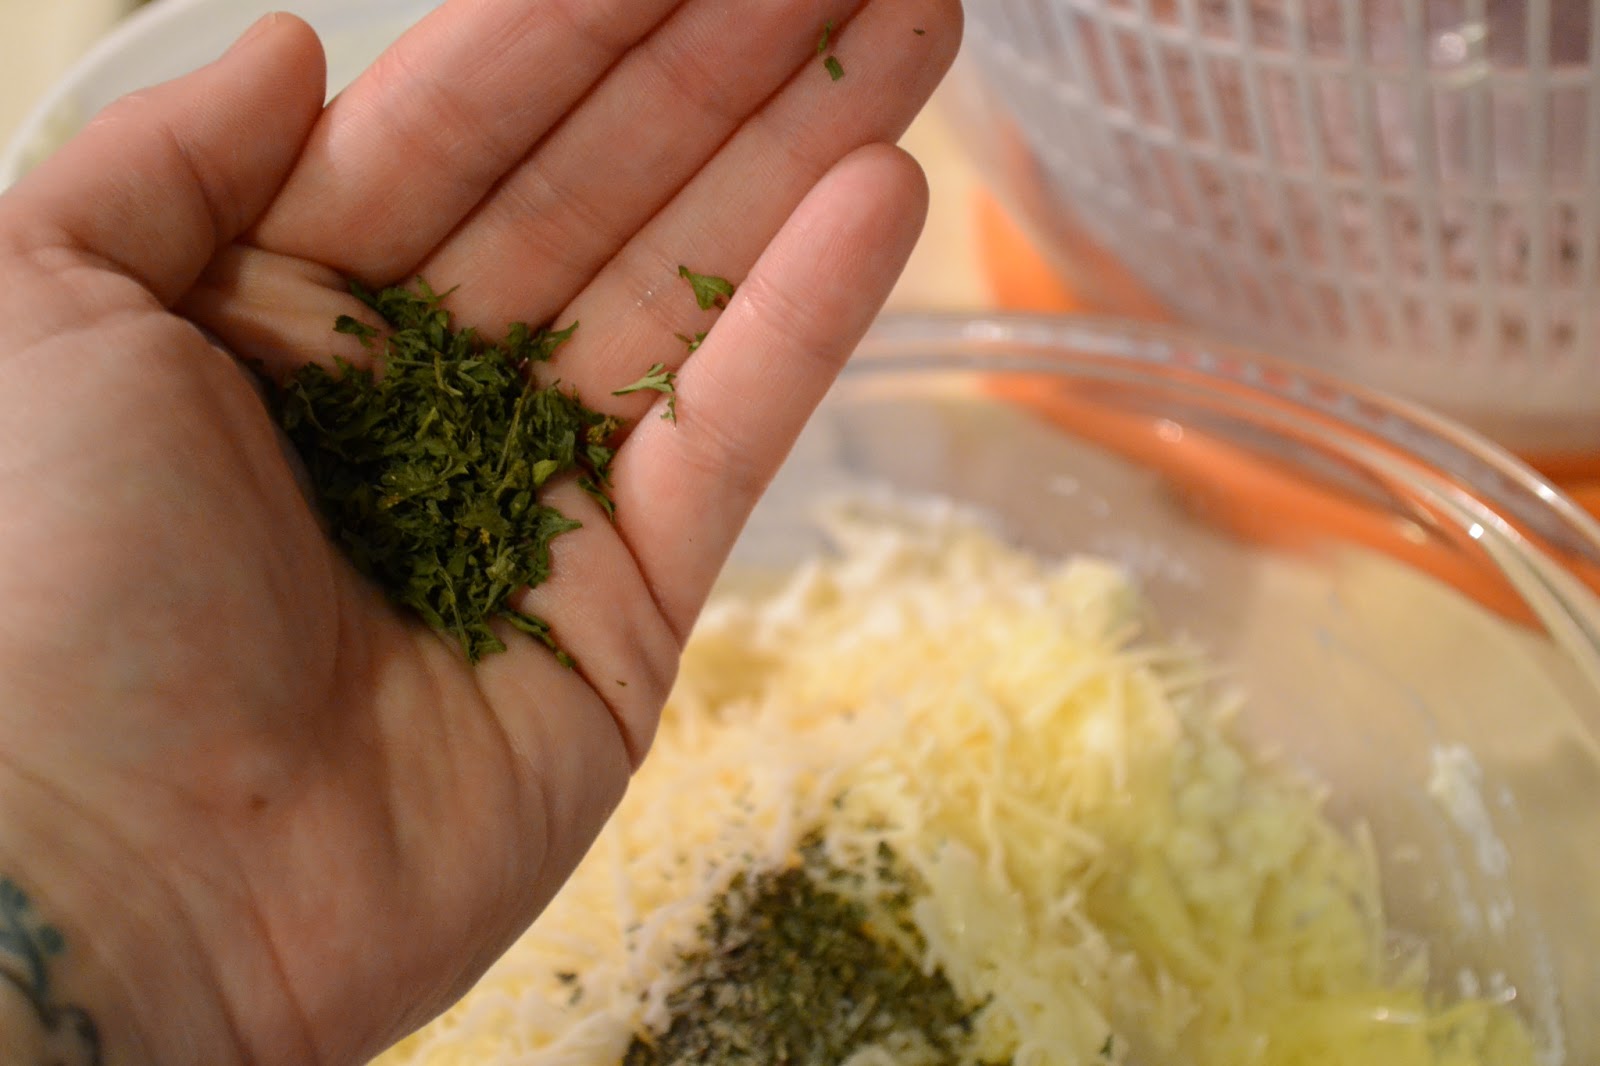
Firstly The Crew
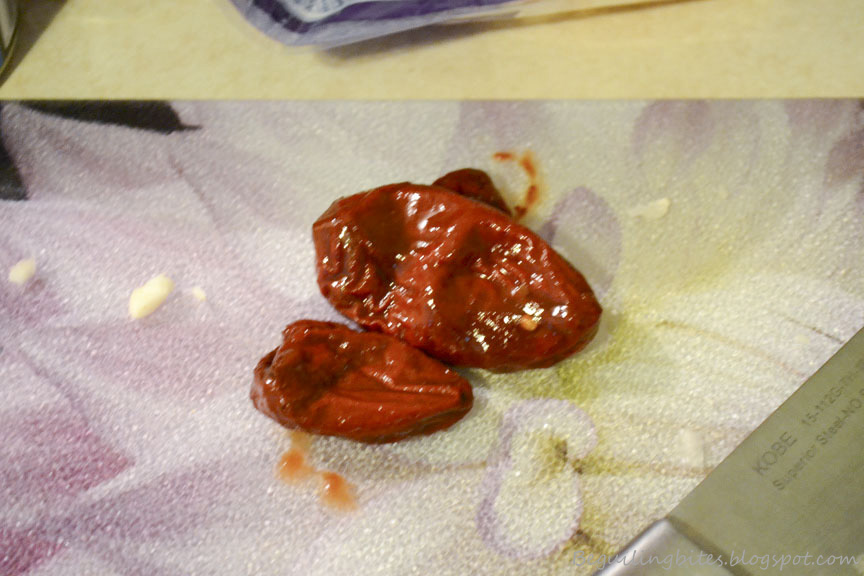
(lets start of by saying you need onion, but as I'm a heathen, I was OUT of onion. :-( Who does that happen to?! at least amongst those who cook?) So I just used onion flakes. A handful of them. :-\ Better than a stick in the eye, but nothing like Real onion. You can use more than one Chile if you like it spicier (but beware, the heat sneaks up on you!) (This has been your public service announcement)


Add the corn, beans, chicken stock, and pepper.
(If you don't thaw out the corn, it doesn't matter, I always forget) (The chile pepper comes in a 7oz can in the international food section, since you only use one, I put the rest in a tupperware, and tossed them in the fridge)
Bring to a boil, cover, reduce heat and let cook for 10-30 minutes (the longer you leave it on the stove, the lower the heat should be)
Stir in half of the sour cream.
The top with the sour cream and cheese.

For a printable version of the recipe, click here